So what you will need is:
About 1/4 a yard of baby fleece or any soft material
1/4 yard of terry cloth or a towel (I used an old baby bath towel)
4 inch of any type of ribbon or none, it's up to you if you want hooks for toys/teethers
4 inch of any type of ribbon or none, it's up to you if you want hooks for toys/teethers
Two 10" Velcro cut into 5" pieces (making 4 pieces)
Scissors, ruler, pins, needles and thread
I started by cutting two 10" by 7" (that's 10 inch width and 7 inch length) pieces of my top fabric and two 10" by 7" pieces of my baby towel (making 4 pieces) (The blue fabric seen in the photo is just to show example, I ended up using a different printed fabric)
I also cut two 10" by 7" pieces of this water resistant fabric I happen to have to add and put it under the towel (but this is optional)
 |
| (Optional waterproof fabric) |
 |
| Two 7" by 10" top fabric and two 7" by 10" towel |
Sew a “hook” piece of Velcro to the print fabric about 1” from the edge and centered top to bottom. Do the same for the towel with a “loop” piece of Velcro.

Put the print cloth and towel right sides together, making sure that the Velcro pieces are on opposite sides from each other.

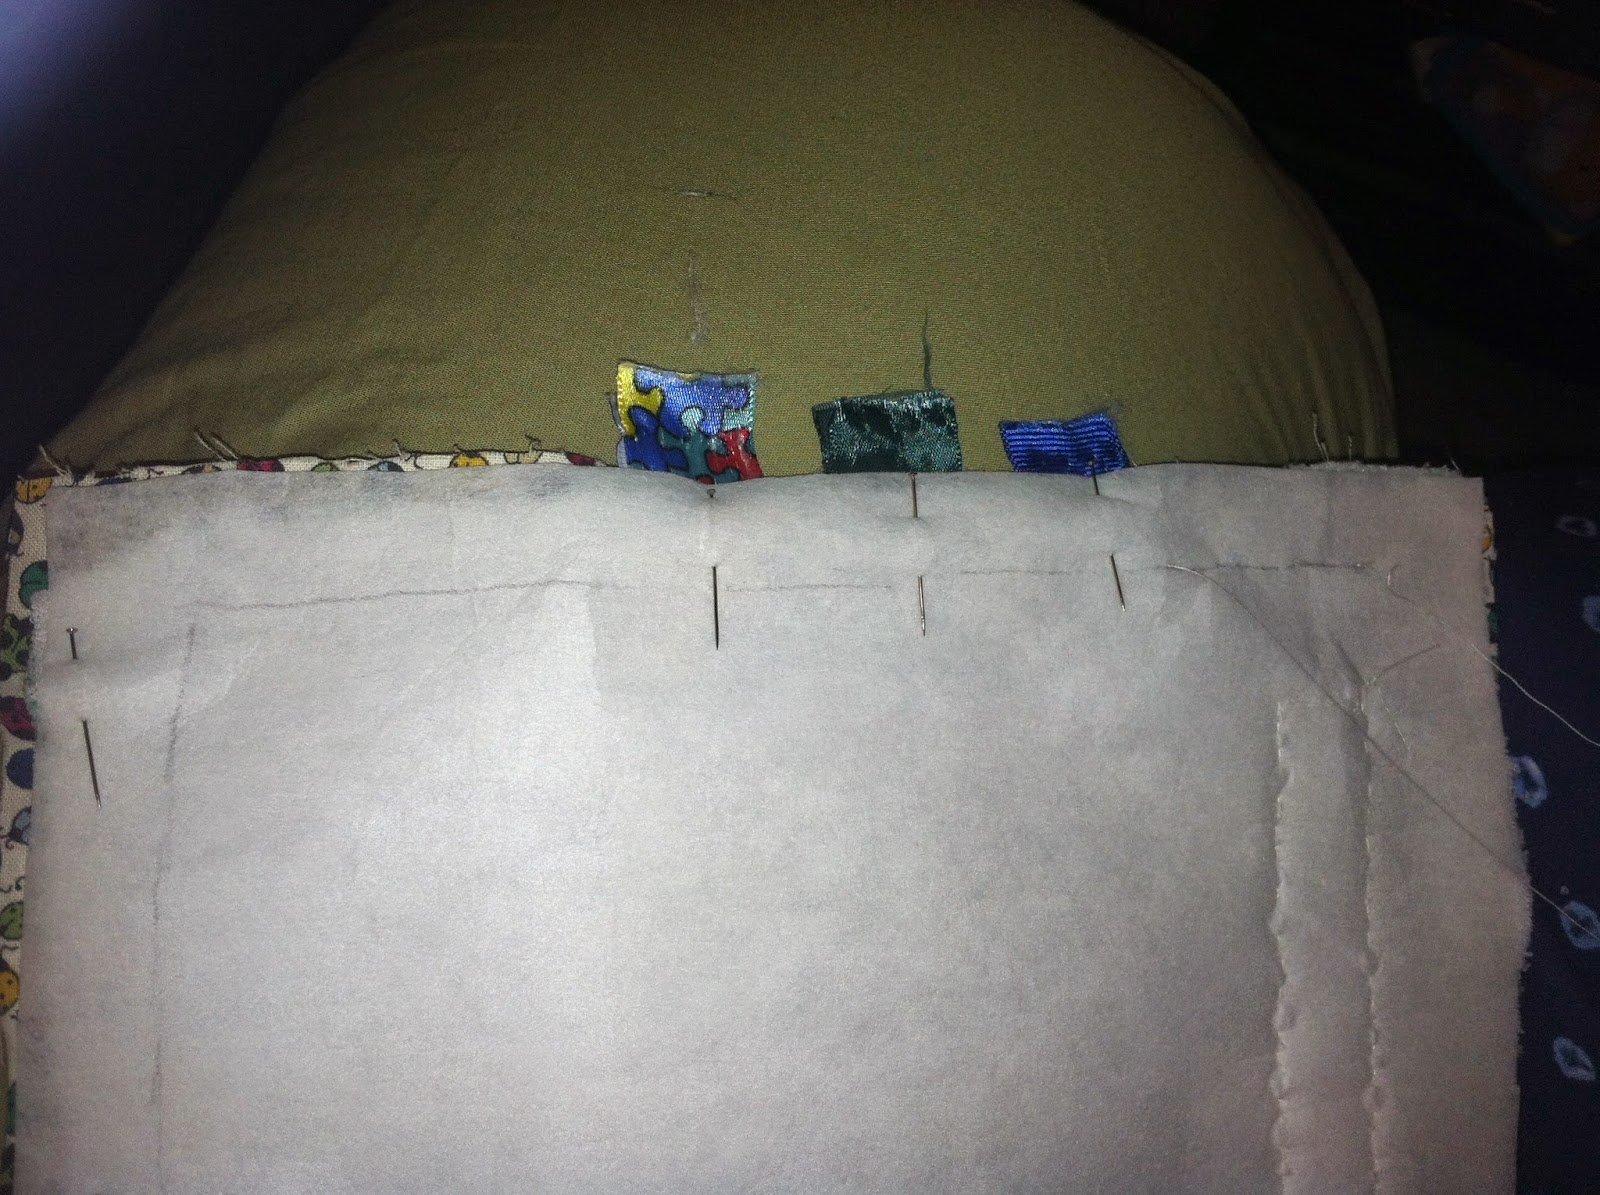
If you choose to have loops in your pads, cut 4" of ribbon. How ever many you want. (I decided to have 2 on one pad and 3 on the other.
Fold your ribbon to a loop and measure to 3" from the left edge and start placing your ribbon leaving a 1/2” tail sticking out from the top. Make sure the ribbon loop side is down in between your fabrics. Then pin them to you fabrics in place.

Start sewing all around the edge with a 1/2” seam allowance stopping and leaving about 3-4"s before you sew back to your starting point in order to leave a hole for turning it right side out. If you want to reduce bulk, then clip off the excess material on the corners (sorry, no photo)
Once you are done sewing and have left open the 3-4", begin to fold your pad right side out using the open area provided (sorry, no photo of actual folding inside out)
It should look something like this after being turned right side out....

You can use something to push out the corners to reduce bulk and straighten the pad out. Iron them if you want. You can then top stitch all the way around and that's it!
Here is the finished product....

Not perfect but I did these without a sewing machine so they came out fairly good!
On my Líllébaby Airflow...

And here I am with my little squish...

LOVE this!!! Thanks so much for posting! I just made them last night. Your directions were PERFECT!! 😍
ReplyDeleteI am so excited to try this out! Thank you for sharing!
ReplyDeleteHave you made a Lillebaby bib? I have seen them but I can't figure out the attachment method.